If you purchased your domain name through GoDaddy it’s really easy to set-up your domain to work with Local Propeller. Just follow the simple instructions below and you will be up and running in a matter of minutes. If you have any trouble just let us know, we’re here to help!
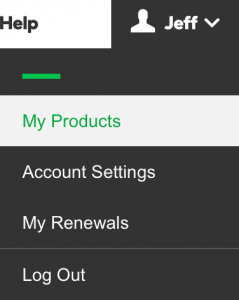
- Sign in to your GoDaddy account and click on the dropdown account menu in the upper right corner of the page. Click on My Products to access a list of all your GoDaddy products.
- Click on the Manage button on the Domains section of the list of your account services.

- A list of all your domain names will appear in this window. Click on the domain name you would like to host with Local Propeller.

- All of the settings for your selected domain will be displayed. Click on Manage under the Nameservers section to open the interface to update your domain name’s nameserver (DNS settings).

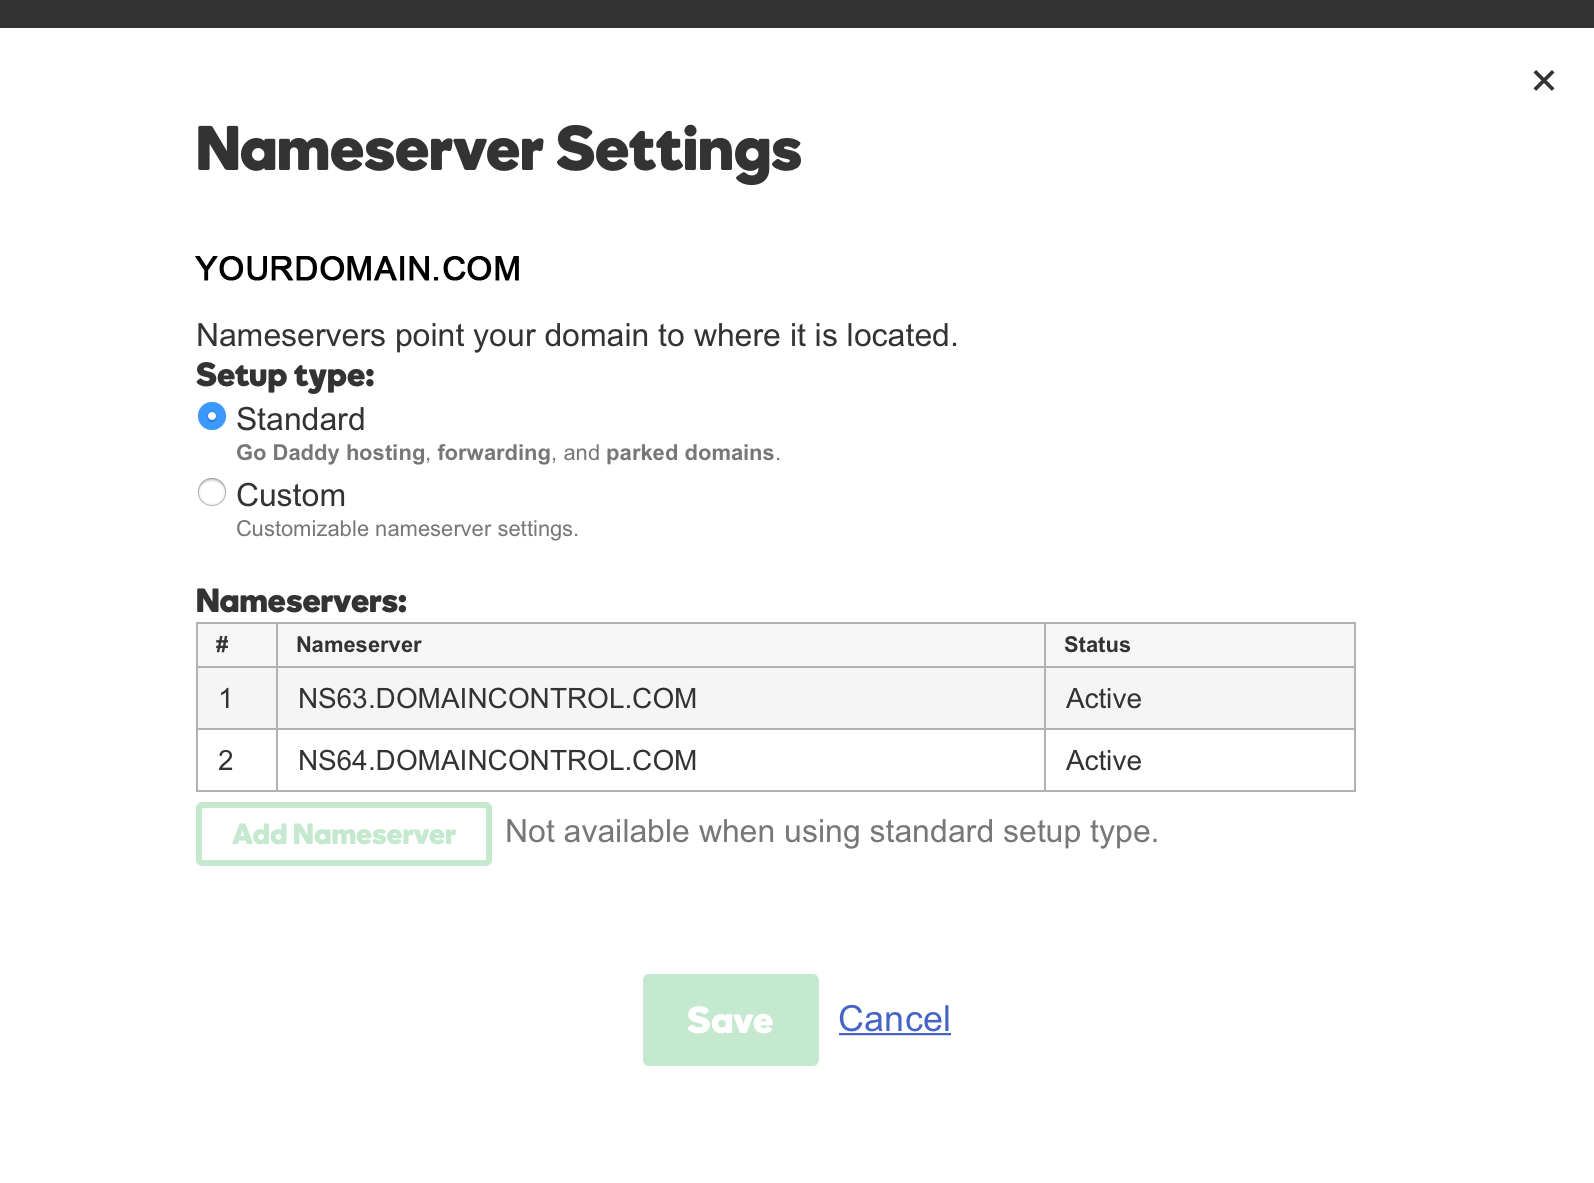
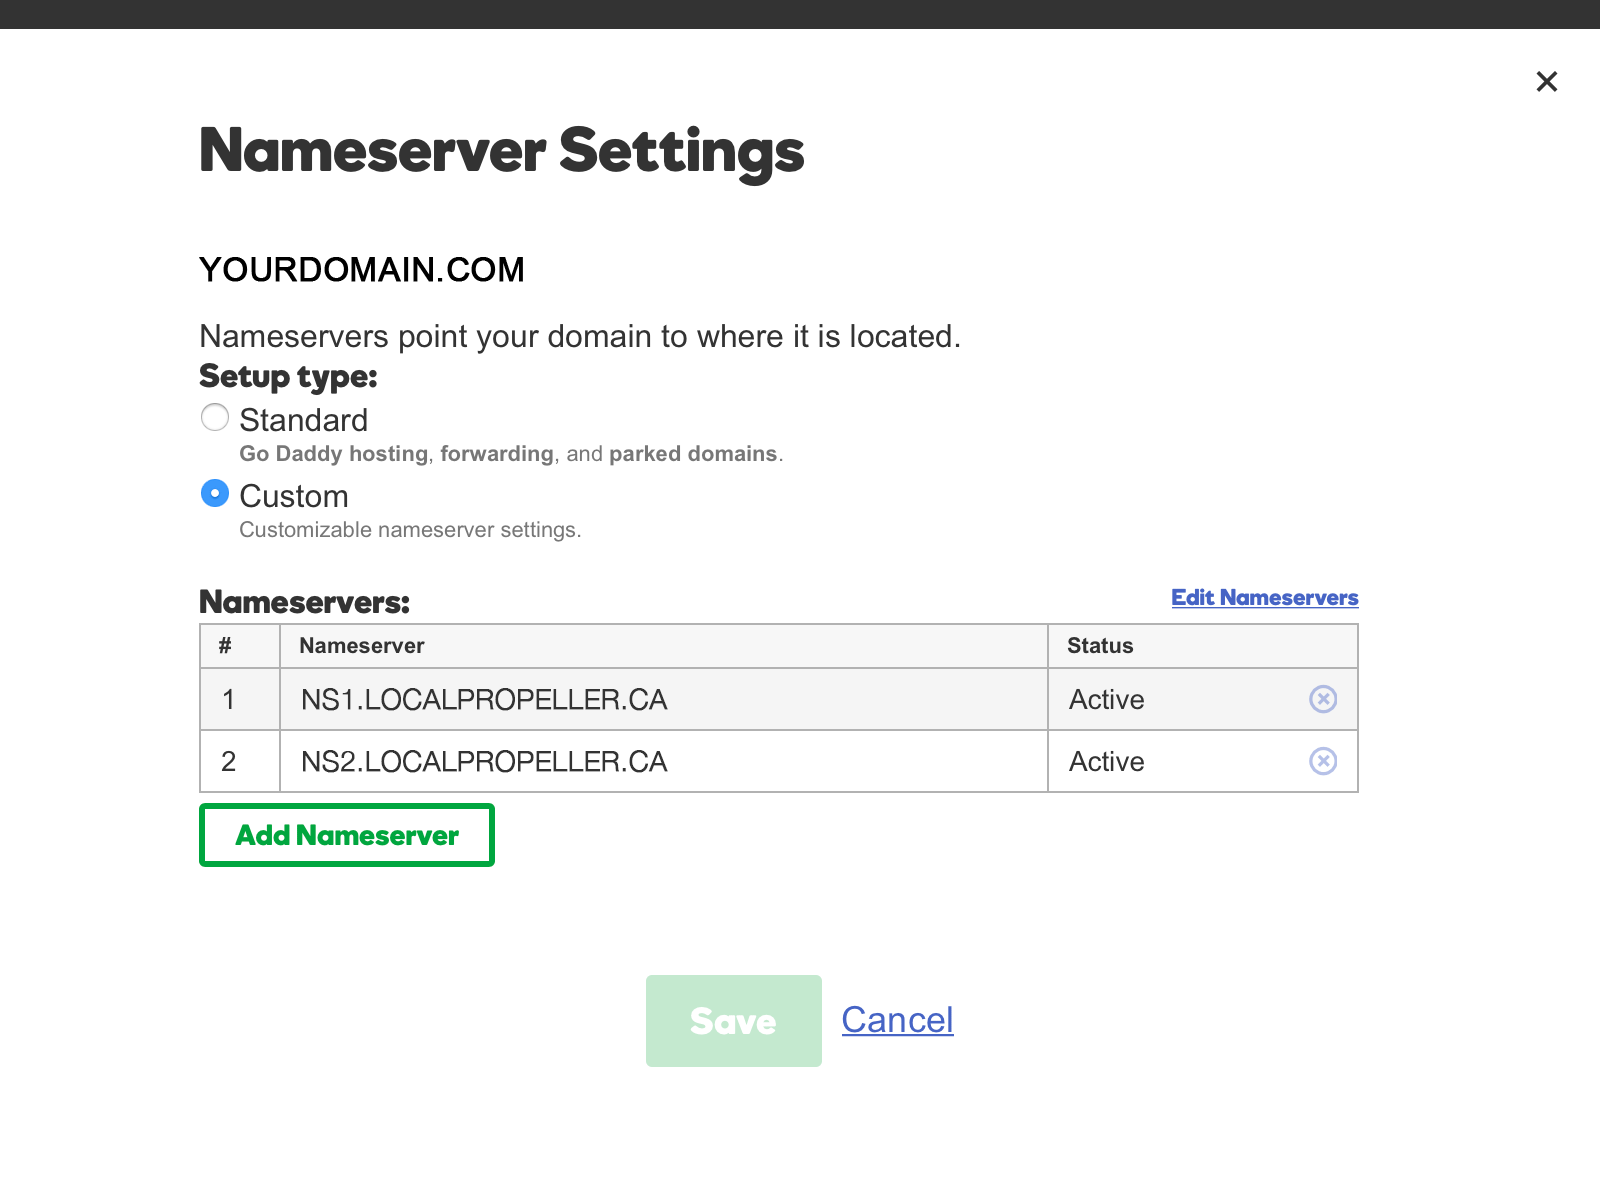
- Your domain’s current nameserver settings will be displayed. Click on the radio button beside Custom to update your domain name’s nameserver settings.
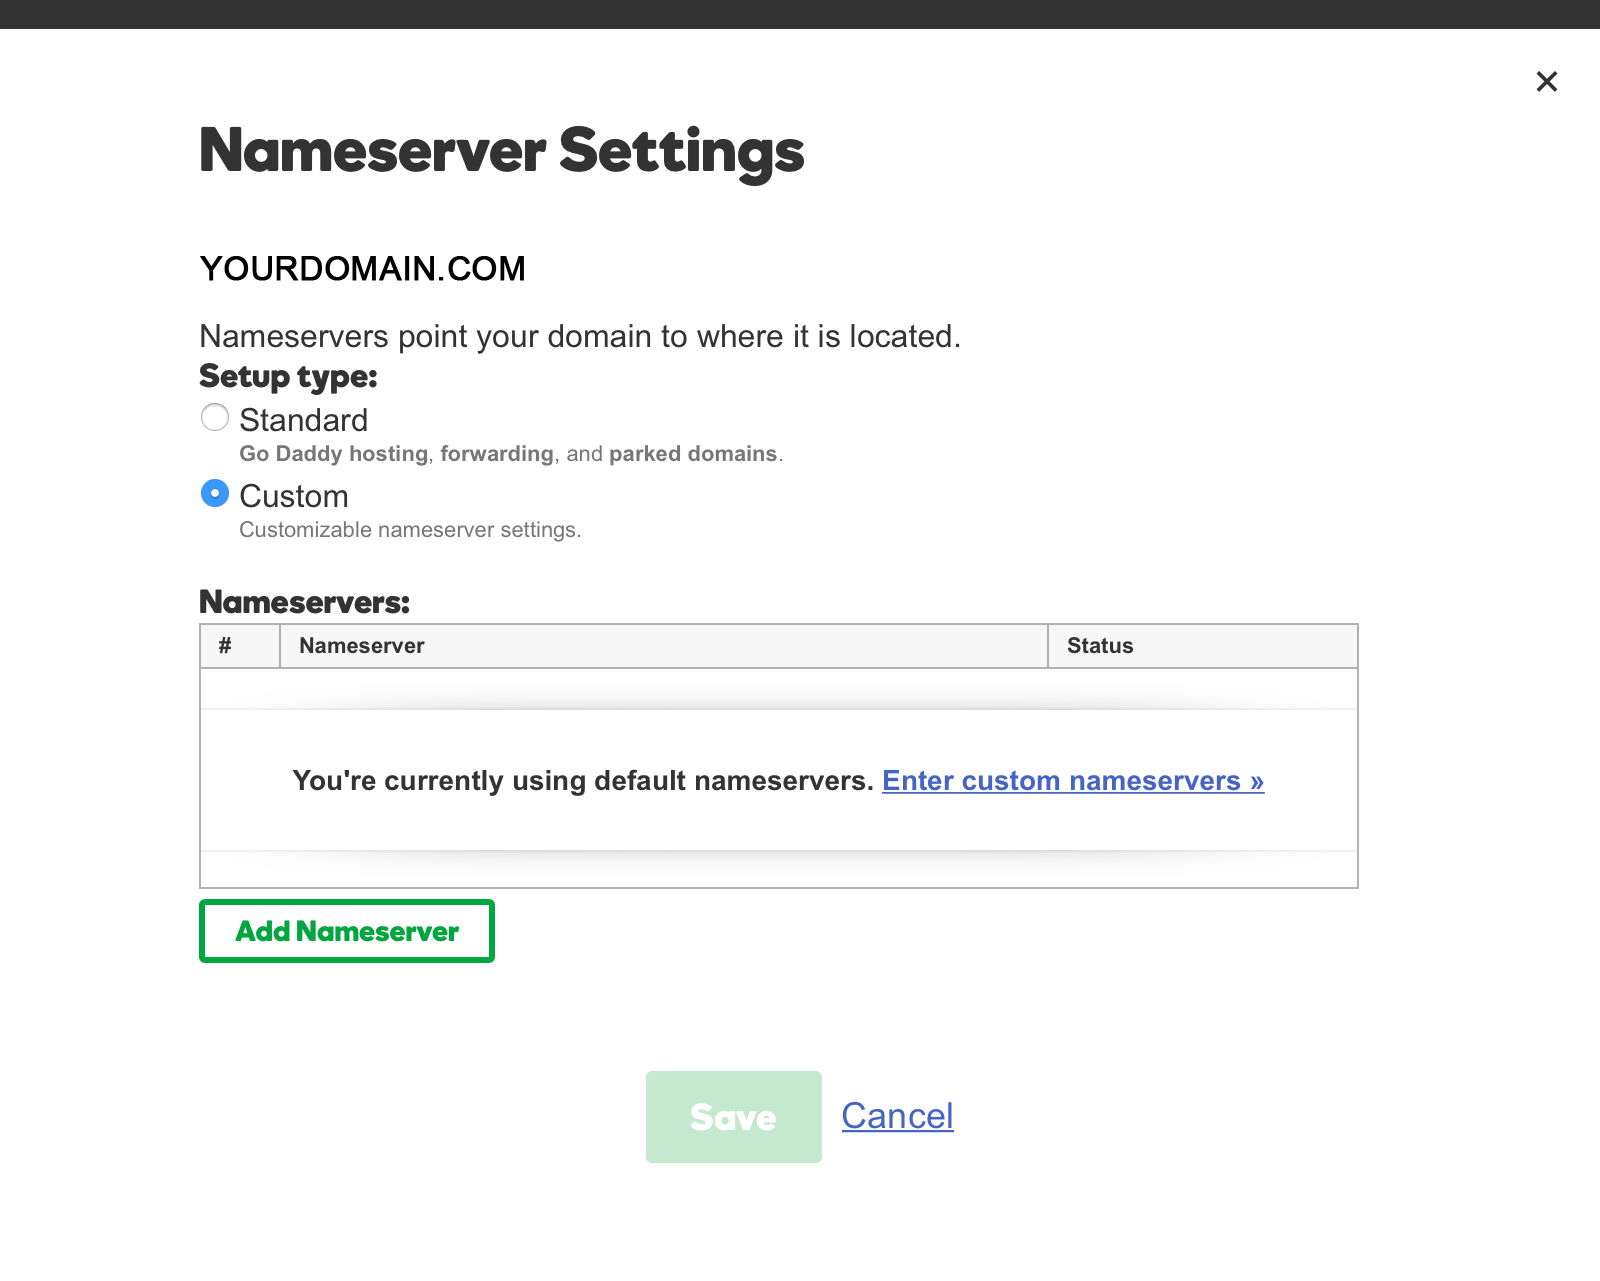
- Click Enter custom nameservers to enter a new set of nameservers for your domain name.
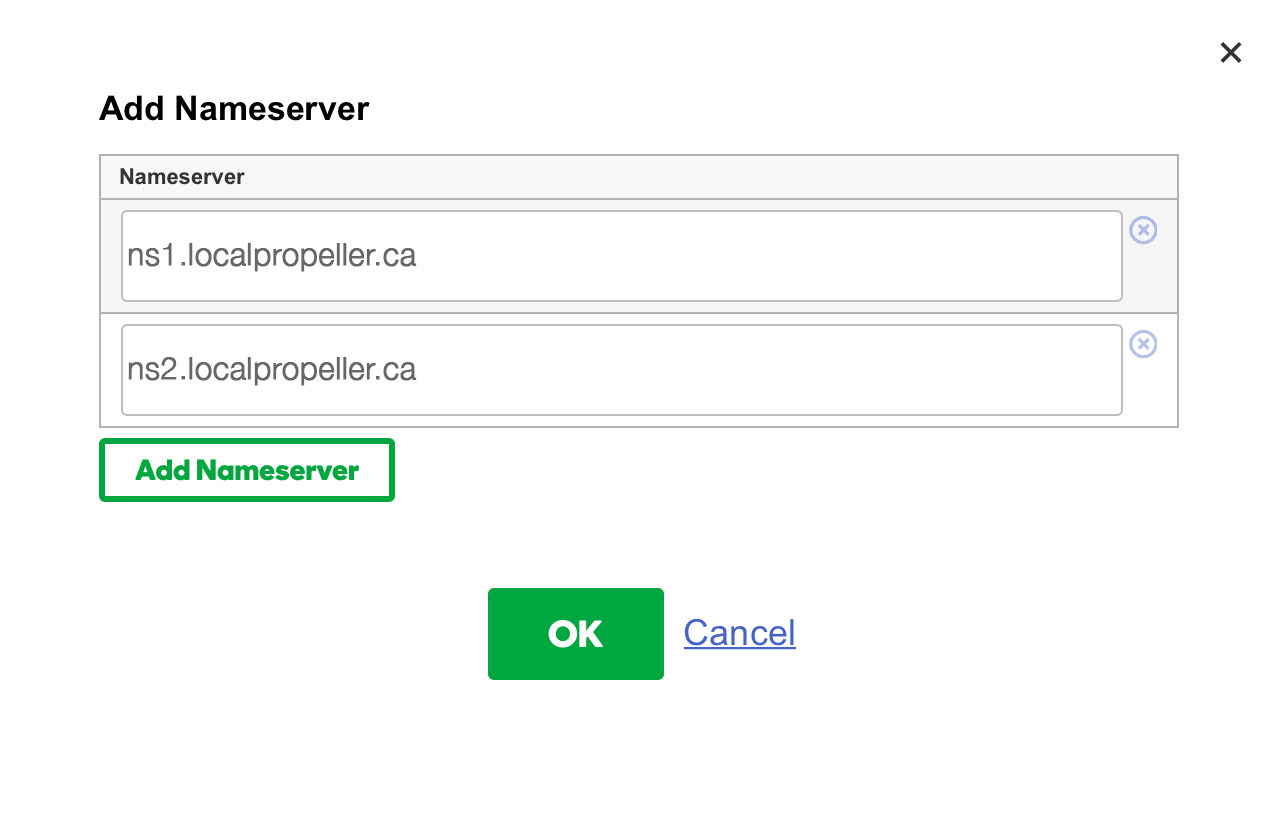
- Add the following to point your domain name to the Local Propeller’s web servers and click OK. Add ns1.localpropeller.ca and ns2.localpropeller.ca into the form and click OK to save your new nameserver address.
- Click Save to save the updated nameserver settings.
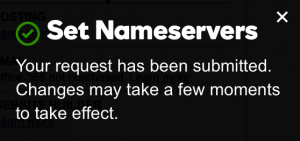
- That’s it, your domain is now pointed to the Local Propeller’s web servers! It may take up to 24 hours for the new nameserver settings to be copied to all of the individual name servers around the world, although this typically happens in just a few hours.
If you are still having trouble after using these settings please don’t hesitate to contact us – we’re here to help!
