
Before anyone can visit your website you need to upload your website’s files (HTML, CSS, JPG, etc.). The fastest and simplest way to achieve this is using an FTP program.
- First things first, you’re going need an FTP program. Below are a few ones worth considering.
Transmit – Mac OS X – click here to learn more…
CyberDuck – Mac OS X & Windows – click here to learn more…
Fetch – Mac OS X – click here to learn more…
FileZilla – Mac OS X, Windows & Linux) – click here to learn more… - Open a new connection in your FTP program of choice. The screenshots below were created with Panic’s Transmit FTP client – other FTP clients will be similar. Enter in the information as follows and then click Connect.
Server: localpropeller.ca
Username: This is the username that you were supplied when your web hosting account was set-up..
Password: This is the password that you were supplied when your web hosting account was set-up.
Initial Path: Enter /httpdocs to be taken directly to your web uploads folder.
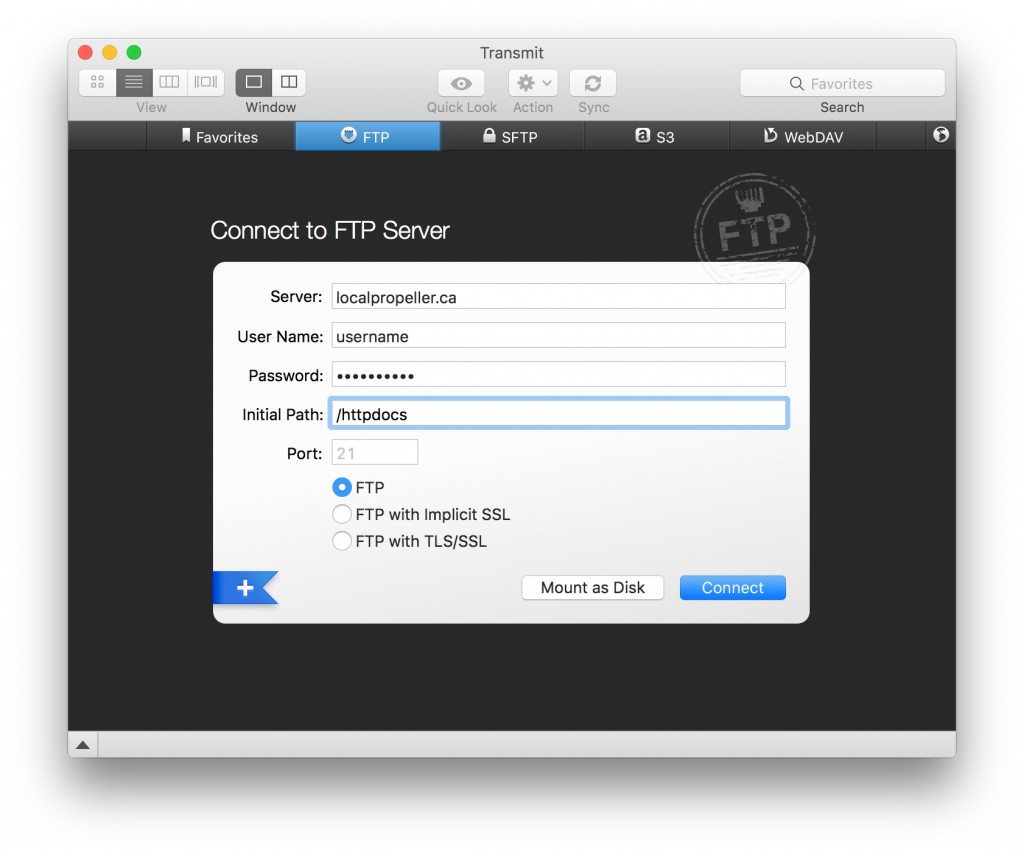
- If you have the option please ensure that “Passive Mode” is selected and you are using Port 21.
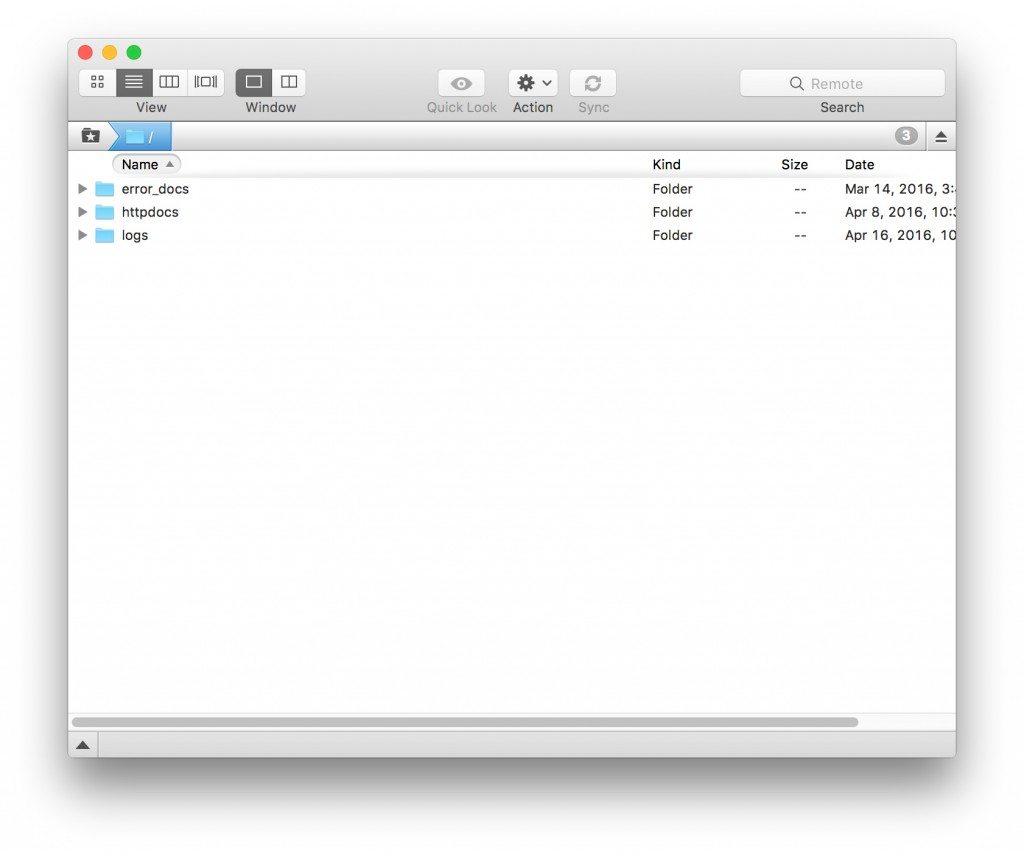
- If your information was entered correctly you will see the root directory of your web hosting account. If you entered /httpdocs in the Initial Path field when logging in you are already in the proper folder. If not, double click on the ‘httpdocs’ directory to upload your website’s files.
That’s it, you should have full access to upload your website files via FTP! If you are still having trouble after using these settings please don’t hesitate to contact us – we’re here to help!